Teltonika Managed Switches
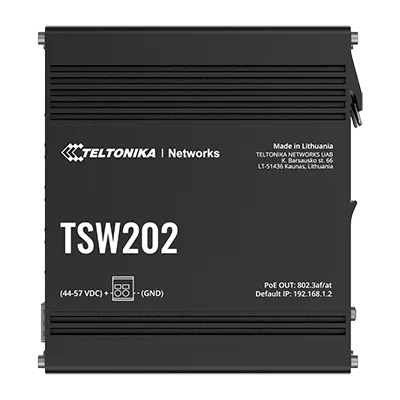
A Teltonika managed switch adds Ethernet sockets to your van's network. Sensa shows what is plugged into each one and lets you turn power over Ethernet on and off for a socket, so you can restart a camera or access point without going near the cupboard.
Included in Pro and Vision.
Sensa Connection Method
Network: Ethernet.
Installation
Mount the switch and run network cables from it to your router and to the devices it serves.
Configuration
The switch sits on your van's network by Ethernet. Sensa finds it on that network and talks to it using the switch's admin password.
Adding to Sensa Nomad
Open Settings, choose the Devices tab, tick it under Discovered and press Add Selected Devices. If it is not there yet, press Scan.
The switch adds without a password, then shows a red Not Configured label. Tap it and enter the switch's admin password.
See Adding devices for more.
What you see
- Port tiles on the Habitation Switches tab, one per socket. Tap a tile to turn power over Ethernet on or off for that socket.
- A faceplate on the Habitation Network tab with Nerd Mode on, showing each port as Up with its speed, or Down.
- Port names, set in Settings on the Switches tab.
- Networks per port on a TSW202, set from Config Network on the router's or the switch's cog in Settings. See Managed switches.
- Firmware updates for the switch, offered from Sensa. See Updates.
See Network switches for the full detail.
Good to know
- A switch is not a router. It has no internet connection of its own, so it does not appear on the Cab dashboard's Internet tab.
- Tapping a tile only switches the port's power, never the port itself, so you cannot cut your system off its own network by accident.