Bluetooth Proxy
A Bluetooth proxy is ideal when your server is too far from BLE devices (sensors, locks, trackers) to pick them up directly. The Sensa Bluetooth Proxy runs on one of two thumb-sized M5Stack modules: the Atom Lite (C008) with an ESP32 chip, or the AtomS3 (C124) with an ESP32-S3. Either model forwards nearby BLE traffic into Home Assistant over Wi-Fi.
Install firmware on a new unit
You can flash a brand-new unit directly from this page. No drivers, no command line.
Which model do I have?
The Sensa Bluetooth Proxy runs on two M5Stack Atom variants. Check your unit before flashing, because the firmware is different for each.
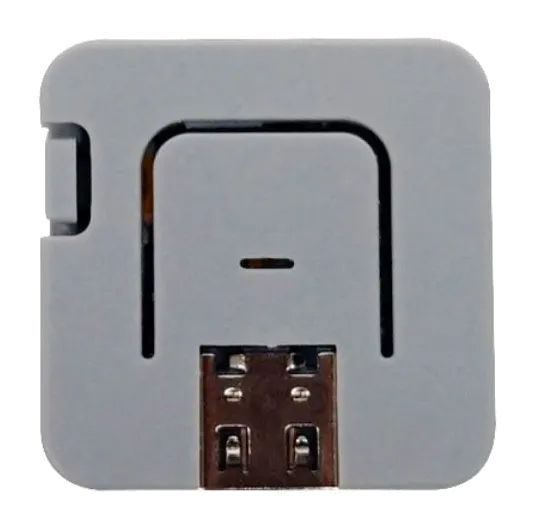
Atom Lite (C008)
Grey in colour.
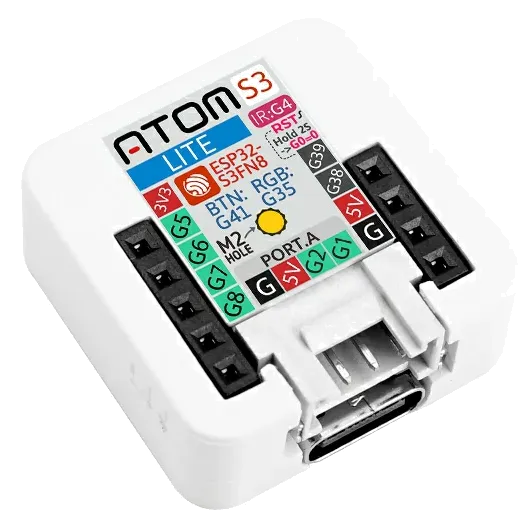
AtomS3 (C124)
White in colour.
You will need:
- Your M5Stack Atom (C008 or C124)
- A USB-C cable that supports data (not charge-only)
- A desktop browser that supports Web Serial — Chrome or Edge on Windows, macOS, Linux, or ChromeOS. Safari and Firefox are not supported.
Steps:
- Plug the device into your computer with USB-C.
- Click the Install Firmware button for your model below.
Atom Lite (C008)
AtomS3 (C124)
- In the browser pop-up, pick the serial port for the device
(usually shows up as
USB JTAG/serial debug unitorUSB Single Serial).
If the port picker is empty, try a different USB-C cable — many cables are charge-only and won't carry data. On Windows you may also need to hold the AtomS3's side button while plugging in to force boot mode.
- Choose Install when prompted, then wait — flashing takes about a minute.
- When it finishes, unplug and re-plug the device to boot the new firmware.
Join Wireless Network
Steps:
-
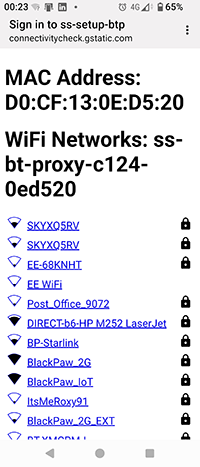
On your mobile or another wireless device, a new wireless SSID should appear named sen-setup-btp. Join this network, the password is sensasetup
-
You will then be presented with a list of all the SSIDs available, select YOUR wireless network and enter YOUR wireless password.
- Power off the device and power on. The device should then join your network.
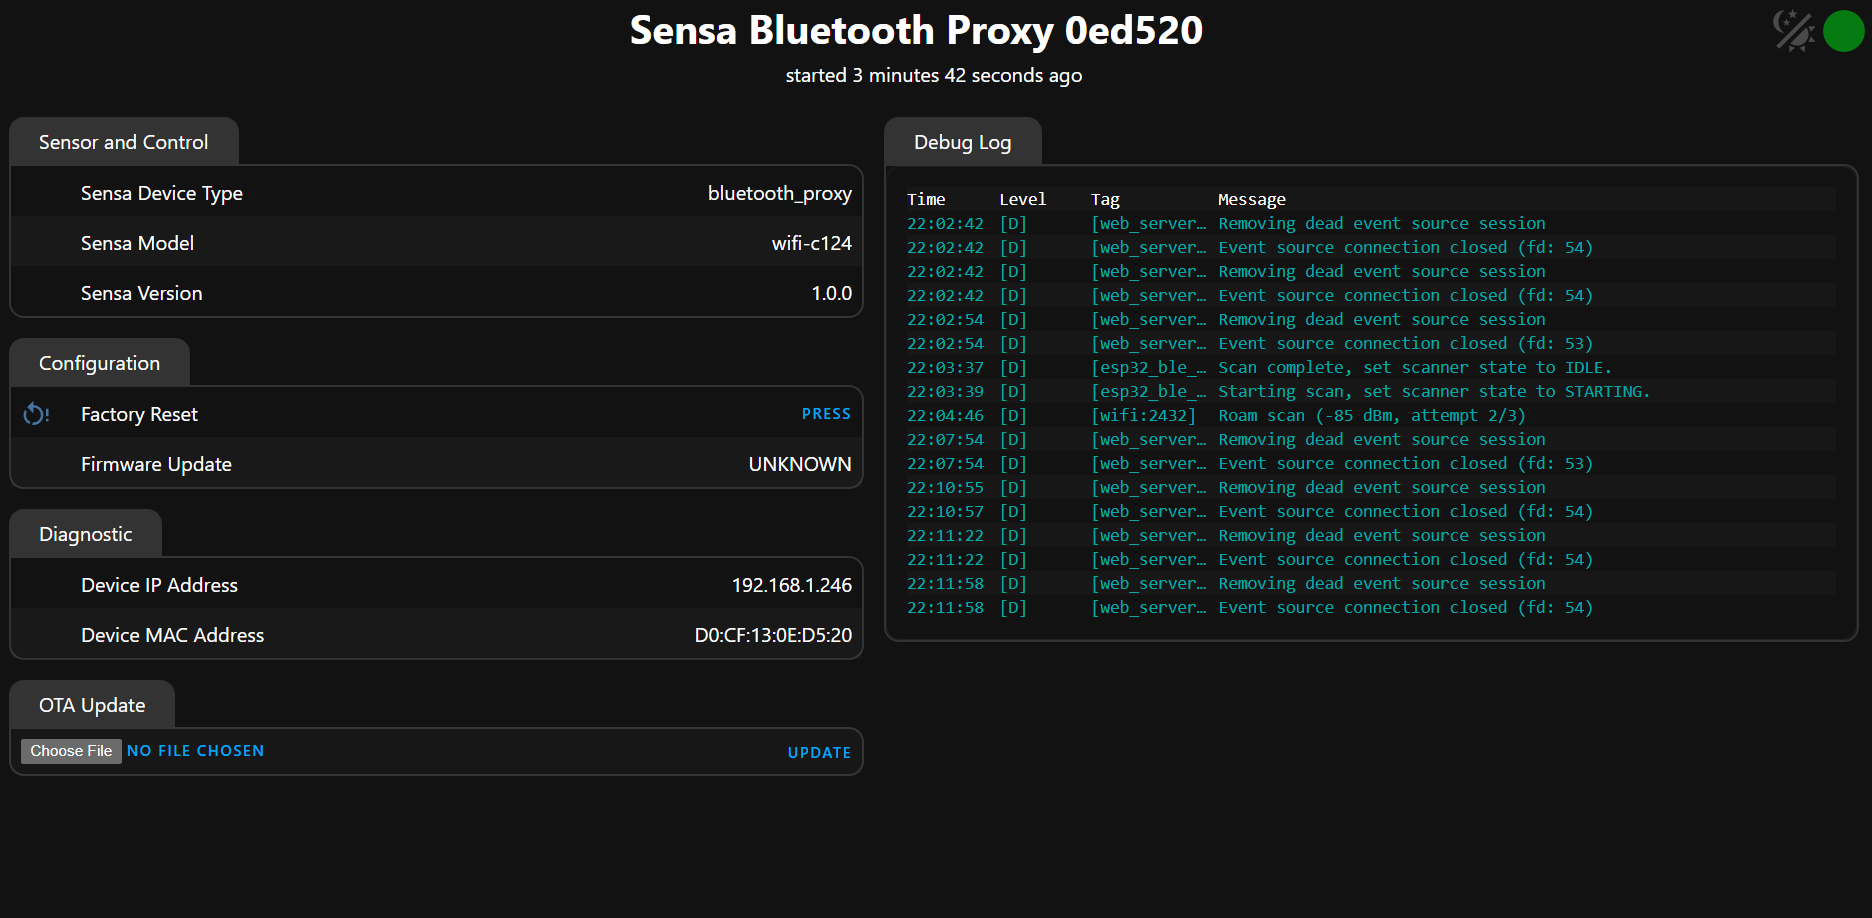
Running Web Interface
The device has a basic web interface which is useful to ensure the device is running and check the logs.
Steps:
- Identify the IP address of the device from your wireless network. You should see a device named
ss-bt-proxy-c008-xxxxxx(Atom Lite) orss-bt-proxy-c124-xxxxxx(AtomS3), wherexxxxxxis the last 6 characters of the MAC address of the unit. That is used to make them unique in case you have multiple proxies on the network. - Connect to your ip address in your browser
- You will be prompted for a user and password, user: admin, password: sensaweb
Adding to Home Assistant (Sensa Nomad)
If you are building a Bluetooth Proxy for your Sensa Nomad installation, follow these steps.
Steps:
-
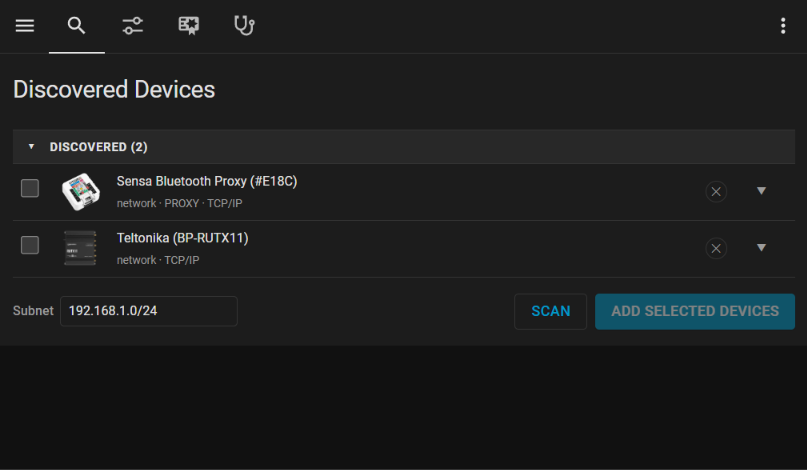
Click on Settings to show the Discovery page. Now that the Bluetooth proxy has been configured to your Wifi network, the discovery should find it.
-
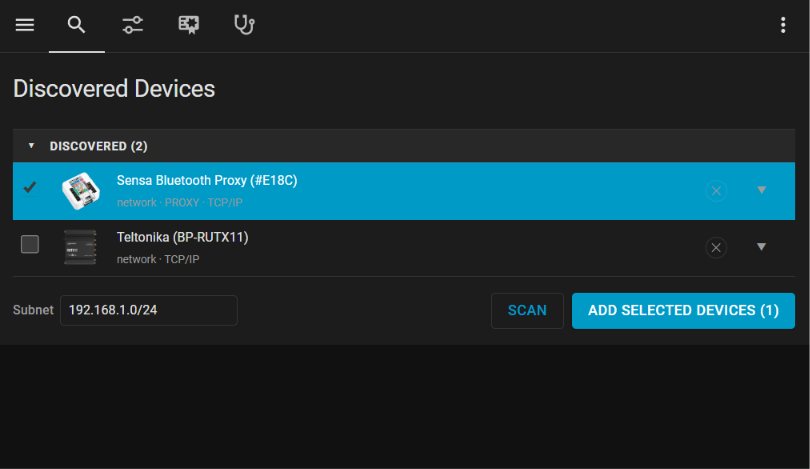
Select the device and click Add Selected Devices.
-
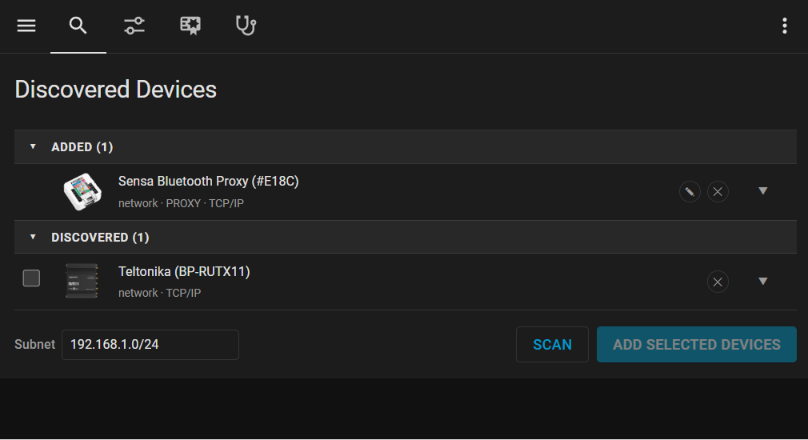
The device should now show in the Added group of devices.
Adding to Home Assistant (DIY)
If you are building a Bluetooth Proxy for your own Home Assistant installation, follow these steps.
Steps:
- Enter the Settings > Devices & Services
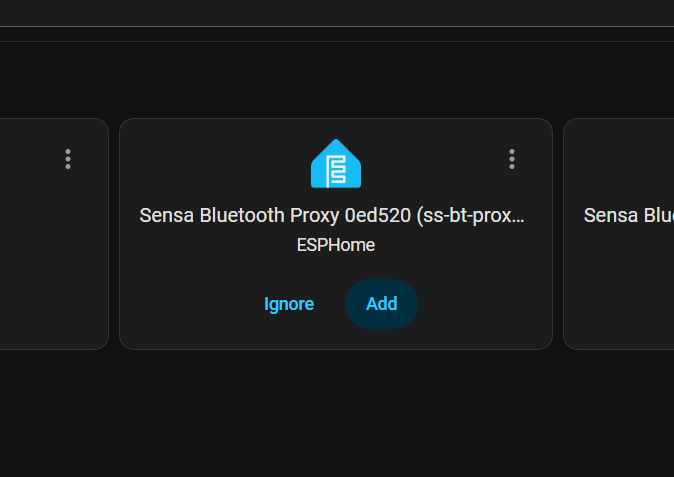
- Home Assistant should automatically discover the device as a ESP device, named Sensa Bluetooth Proxy 0ed520
- Just click Add.
Bluetooth devices can then be advertised by the device to Home Assistant.
Restarting Device
The unit has a large button on the top face. Press once to just restart/reboot the device.
Factory Reset Device
The unit has a large button on the top face. Press and hold down for 5 seconds or more. The device will perform a factory reset. You will need to completely reinstall our firmware and configure if you perform this.